IoTool Adminer manual
Log in
Open the Adminer webpage. Type in your username and password you got on the mail.

You will be taken to the main menu page.

SQL command
To write SQL command, click on “SQL command” button in the top left menu. An empty window will open, where you can write the command.
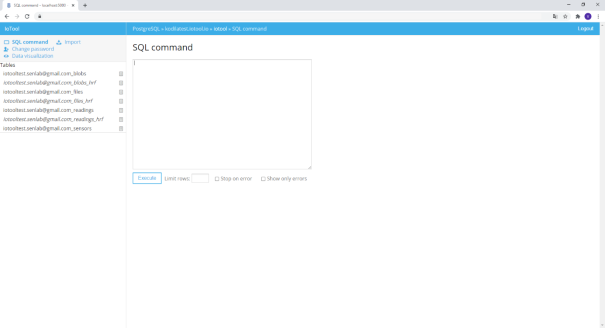
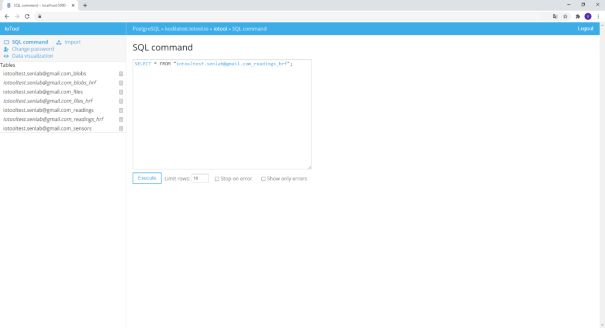
Write the desired command and select “Execute”. The results of your command will appear if the command was correct, otherwise you’ll get an error.
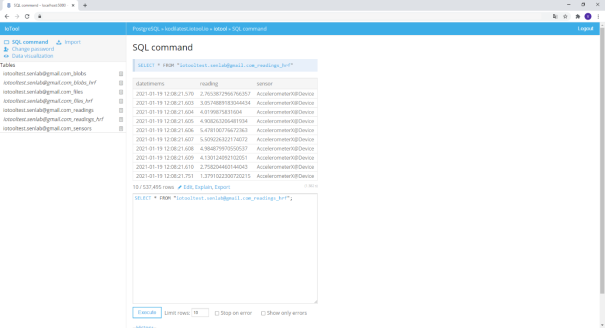
After executing first command, new button “History” will appear under the window.
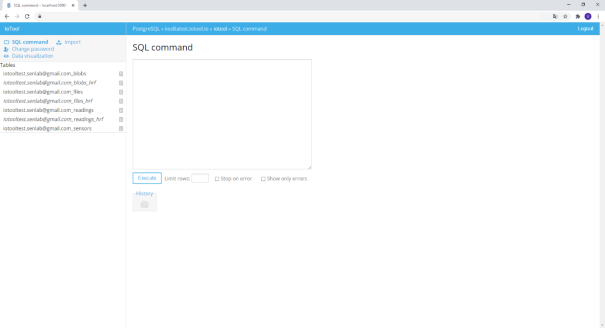
History of all executed SQL command will appear after clicking on it.
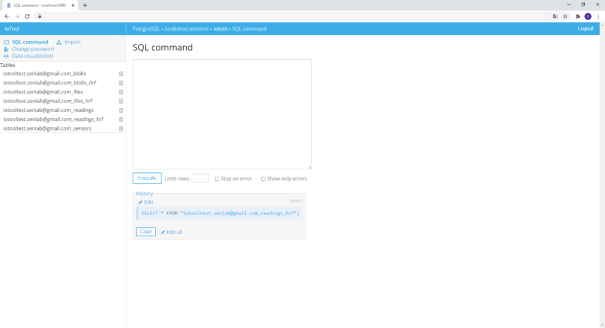
Any executed command can be selected by clicking “Edit” button above it. The command will appear in the window and you can edit it before executing it again. All executed command can be added to the window by clicking on “Edit all”. The number of displayed results can be limited with number inputted in the “Limit rows” window.
Import
To import new SQL table, click on “Import” button in the top left menu. Menu for uploading files will open.
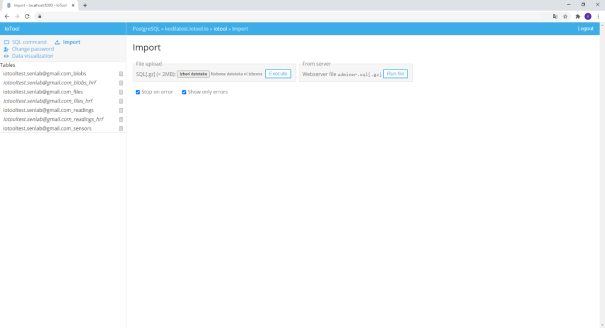
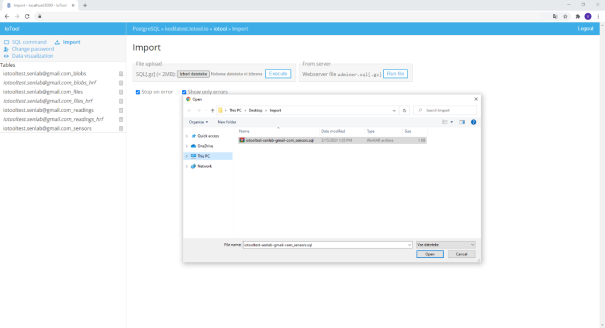
Click on “Izberite datoteko” button and system file chooser dialog should appear. Select the file you wish to upload. The file should be .sql or .gz type and it’s size should be less than 2 MB.
Change password
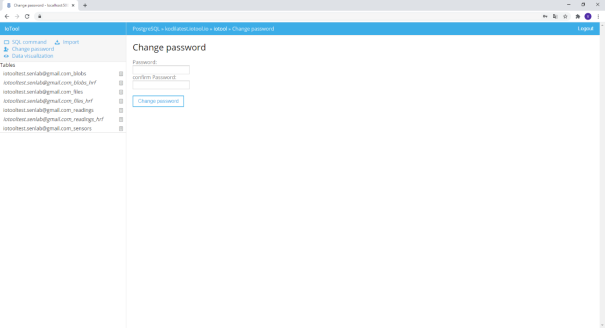
To change password, select “Change password” button in the top left menu. New menu will open where you can change password. Write the new password in the first window and then write it again in the second window to confirm it. Click on “Change password” button to change it. If the password was changed a message saying “Password changed successfully” will appear, otherwise an error message will appear stating what you did wrong.
Data visualization
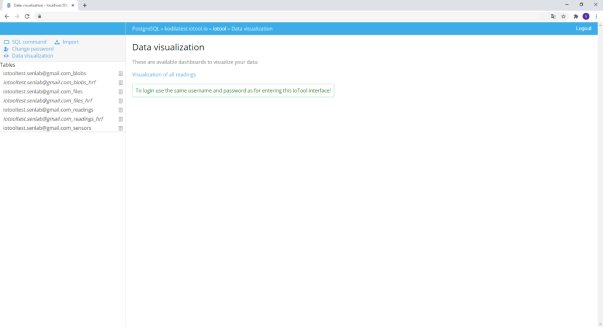
To see data from tables visualized, click on “Data visualization” button in the top left menu. New menu with a link to Grafana will open. Click on the link.
You will be redirected to Grafana log in page. Enter the same credentials you used to access Adminer.

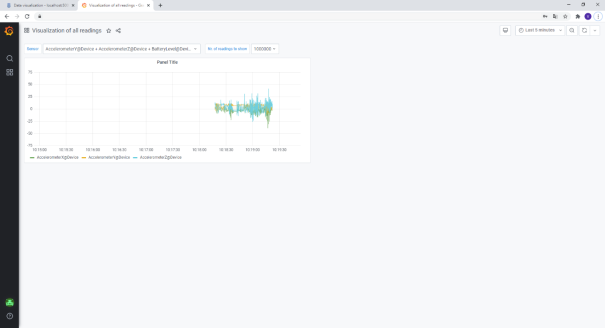
If was log in was successful, Grafana dashboard will open which will show your IoTool data in a graph.
Adminer tables
There are three important tables in adminer, that can be accessed from menu on the left. First one is readings (iotooltest.senlab@gmail.com_readings), which contains data collected from IoTool in a format readable by computer (time is in UNIX time format, sensors are labeled with numbers). Grafana gets data from this table.
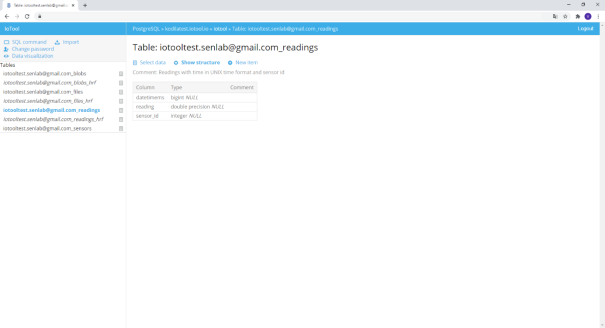
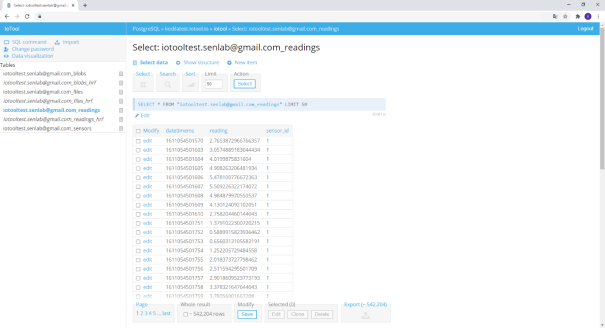
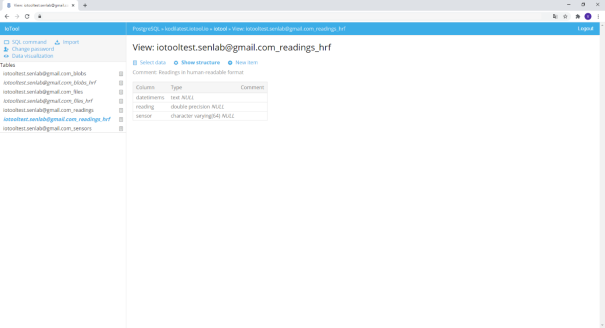
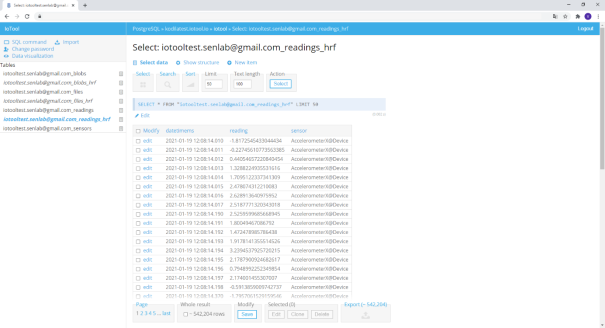
Second one is readings_hrf (iotooltest.senlab@gmail.com_readings_hrf), which is basically the same table, but in format more suitable for people to read (time is in year-month-day-hour format and sensors are labeled with their actual names).
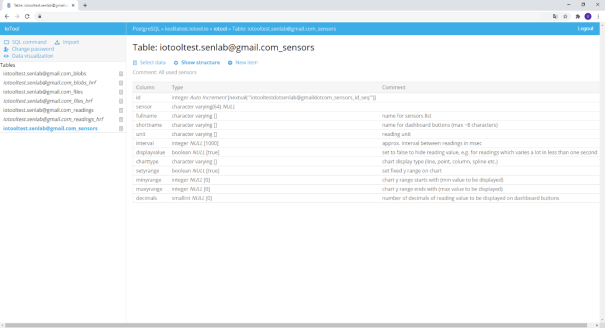
The third table is sensors (iotooltest.senlab@gmail.com_sensors), which contains the names of all the sensors we’ve used and their ids.
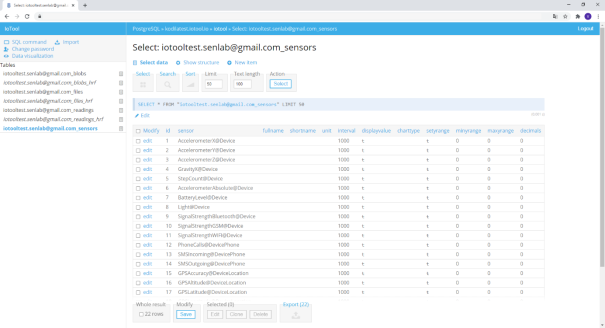
Select data
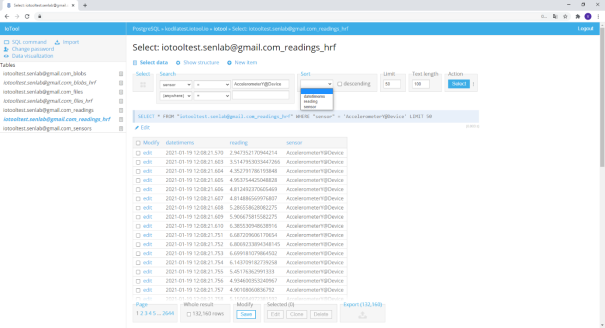
After opening the table in the left menu, firstly table structure is shown. To see table’s data, click on “Select data” under the table’s name. There you can choose/limit which data you will be shown (basically you construct SQL query). First such option is “Select”, which lets you perform a function or aggregation on selected table’s column. Firstly select which operation(???) you want to make and then select the column on which you want to make the operation. Then click “Select” button and your results will be shown.
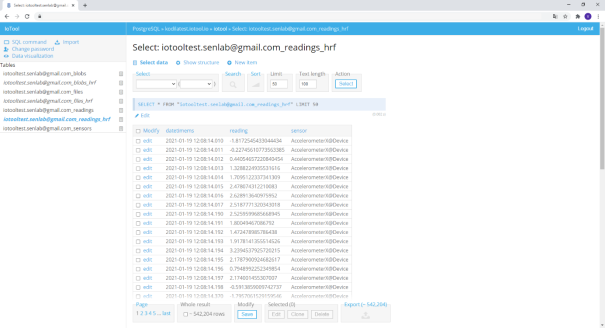
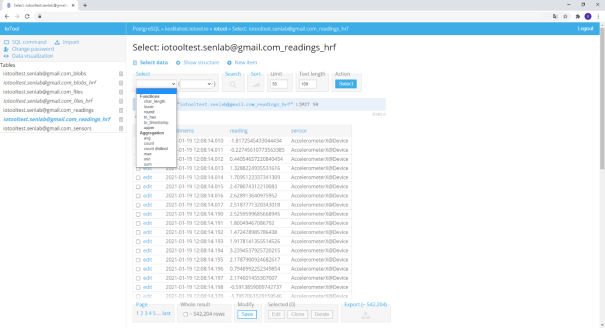
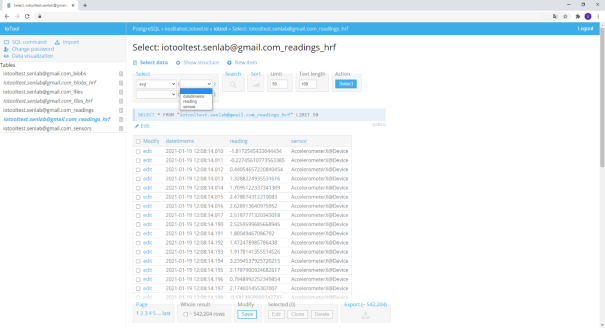
To limit the data that is shown, choose “Search” option. There you can select name of the column, how you want to compare it’s value and the value you want to compare it with.
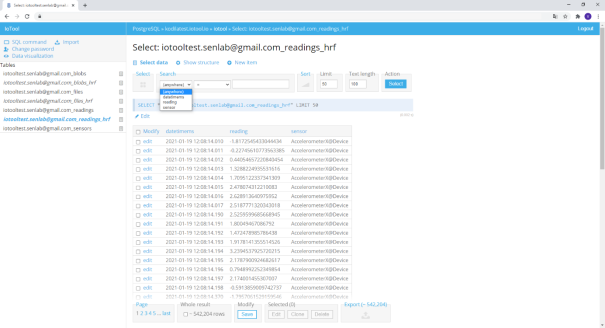
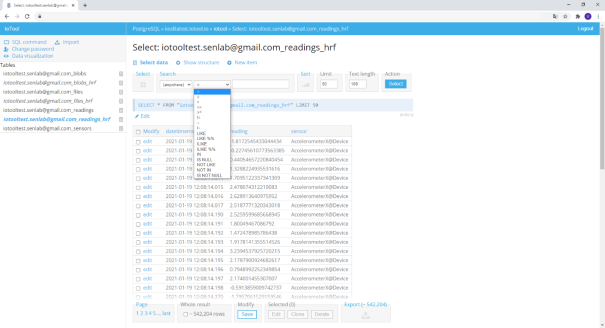
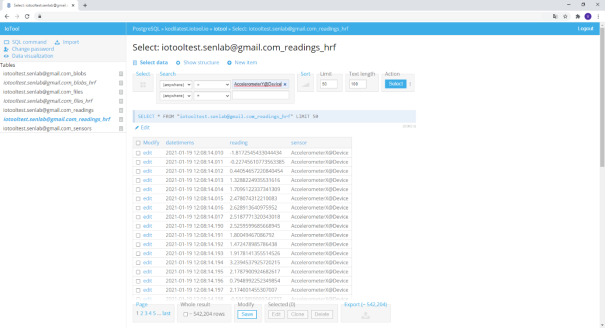
After inputting everything as you want, click on “Select” button and shown data will change.
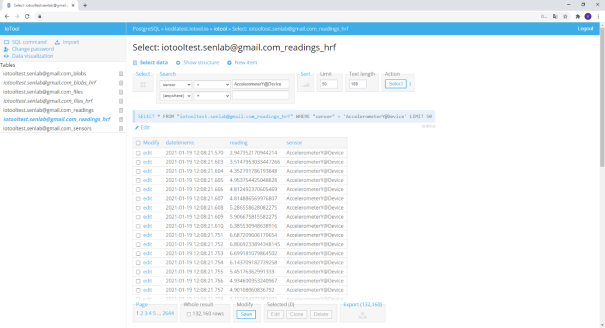
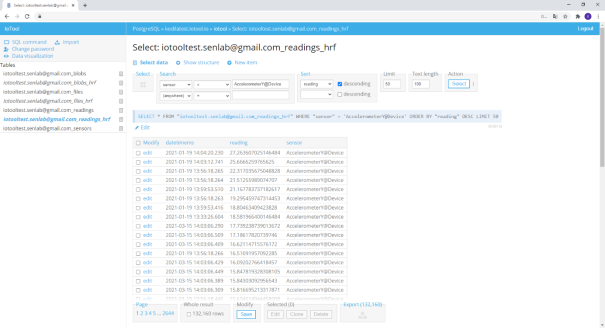
The data that is shown can be sorted with “Sort” option. After inputting everything under “Search” option, select how you want to sort the data by selecting the name of the column you want to sort and then choose if the data is shown in descending order (ascending is default). Again, click “Select” and the data will be sorted.
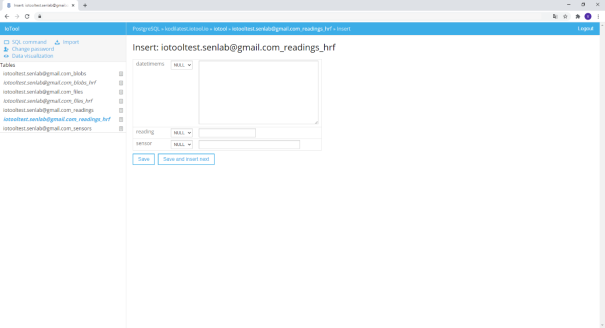
The third option under table’s name you can select is “New item”. If you click on it, the menu will open, which allow us to input the data manually. There are names of our columns with empty boxes next to them. Input the data in each of those boxes and click save. If the data was saved successfully, the message should appear that says “Item has been inserted”.
