Dashboard
Overview
Dashboard represents the main page of the IoTool application. Main element of the dashboard is button, which is used to hold user settable sensor or action. Number of buttons is user adjustable from 1 up to 20 or by selecting dashboard profiles which provide a way to quickly set predefined profiles. By clicking on the button current data gathered by set sensor will be displayed in graph above the buttons.

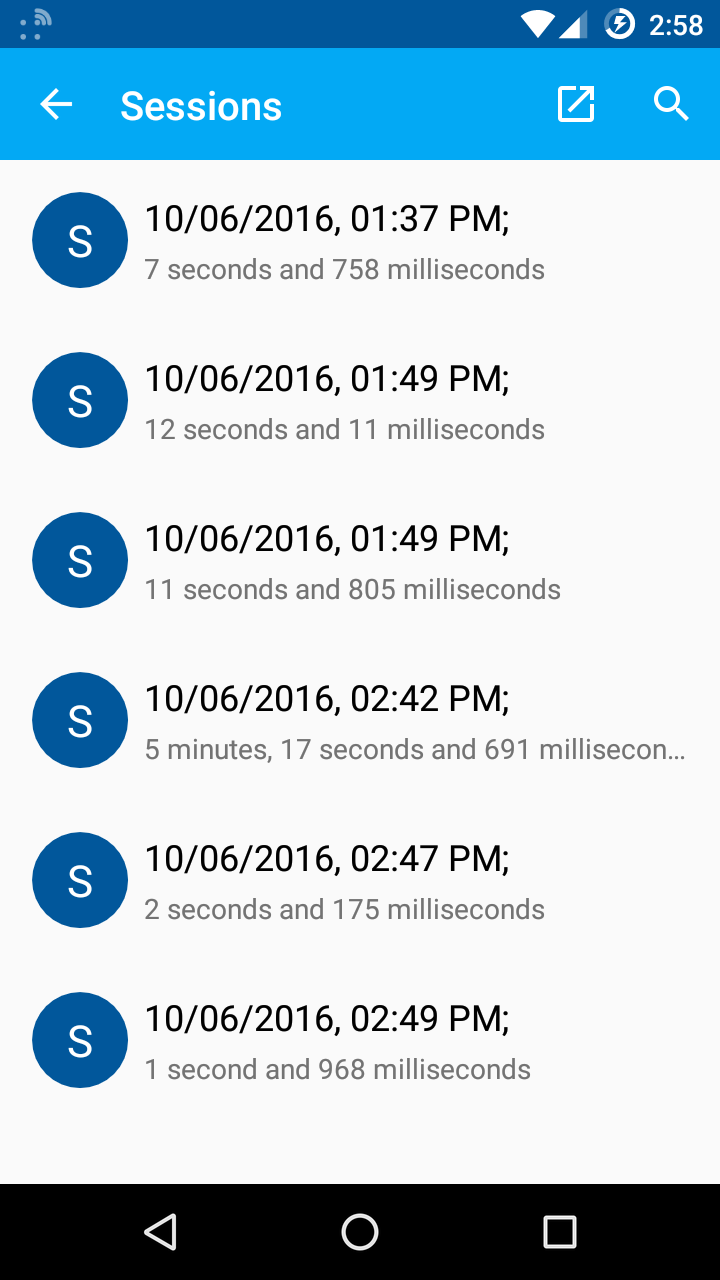
Gathering of data is based on sessions. Each time caputre is started by pressing "Play" button located on the top toolbar, new session is started and stopped once the "Stop" button is pressed. All captured sessions are avaliable in session manager where they can be revised, shared and deleted.
Common user actions
How do I set number of buttons to display on the dashboard?
-
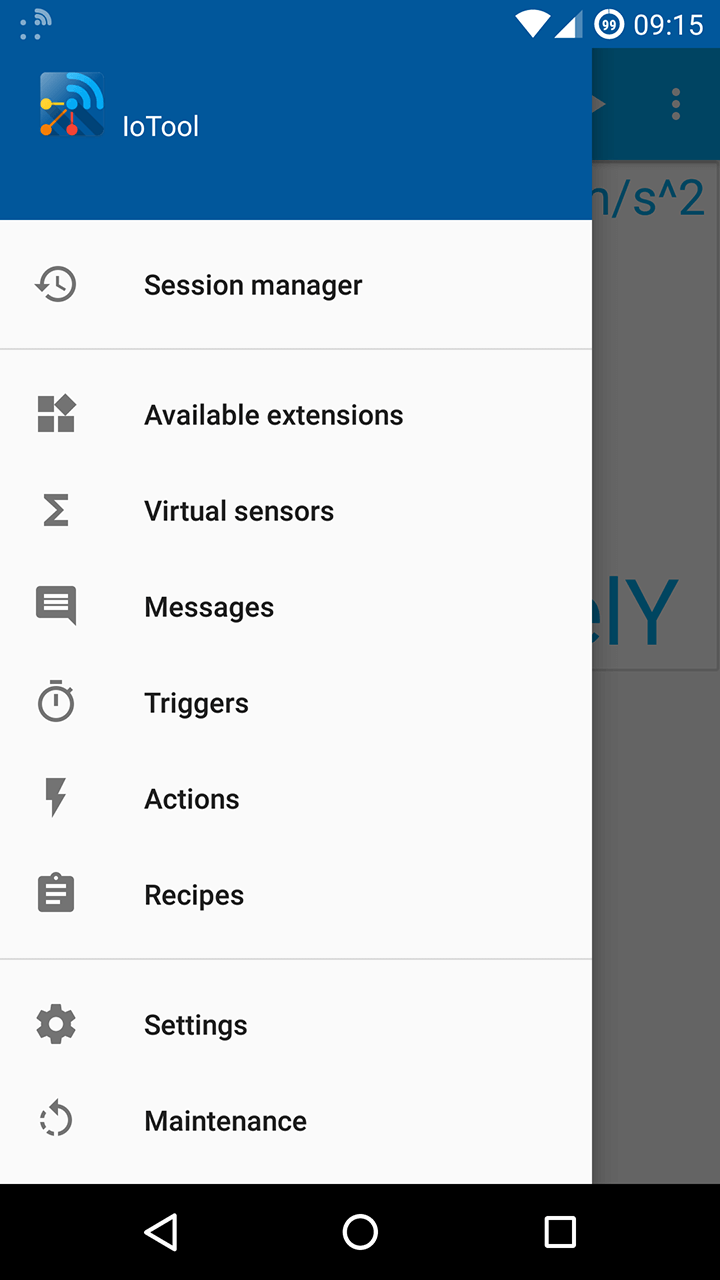
Open left side drawer by pressing menu icon next to the IoTool logo.
-
In drawer choose setings item.

-
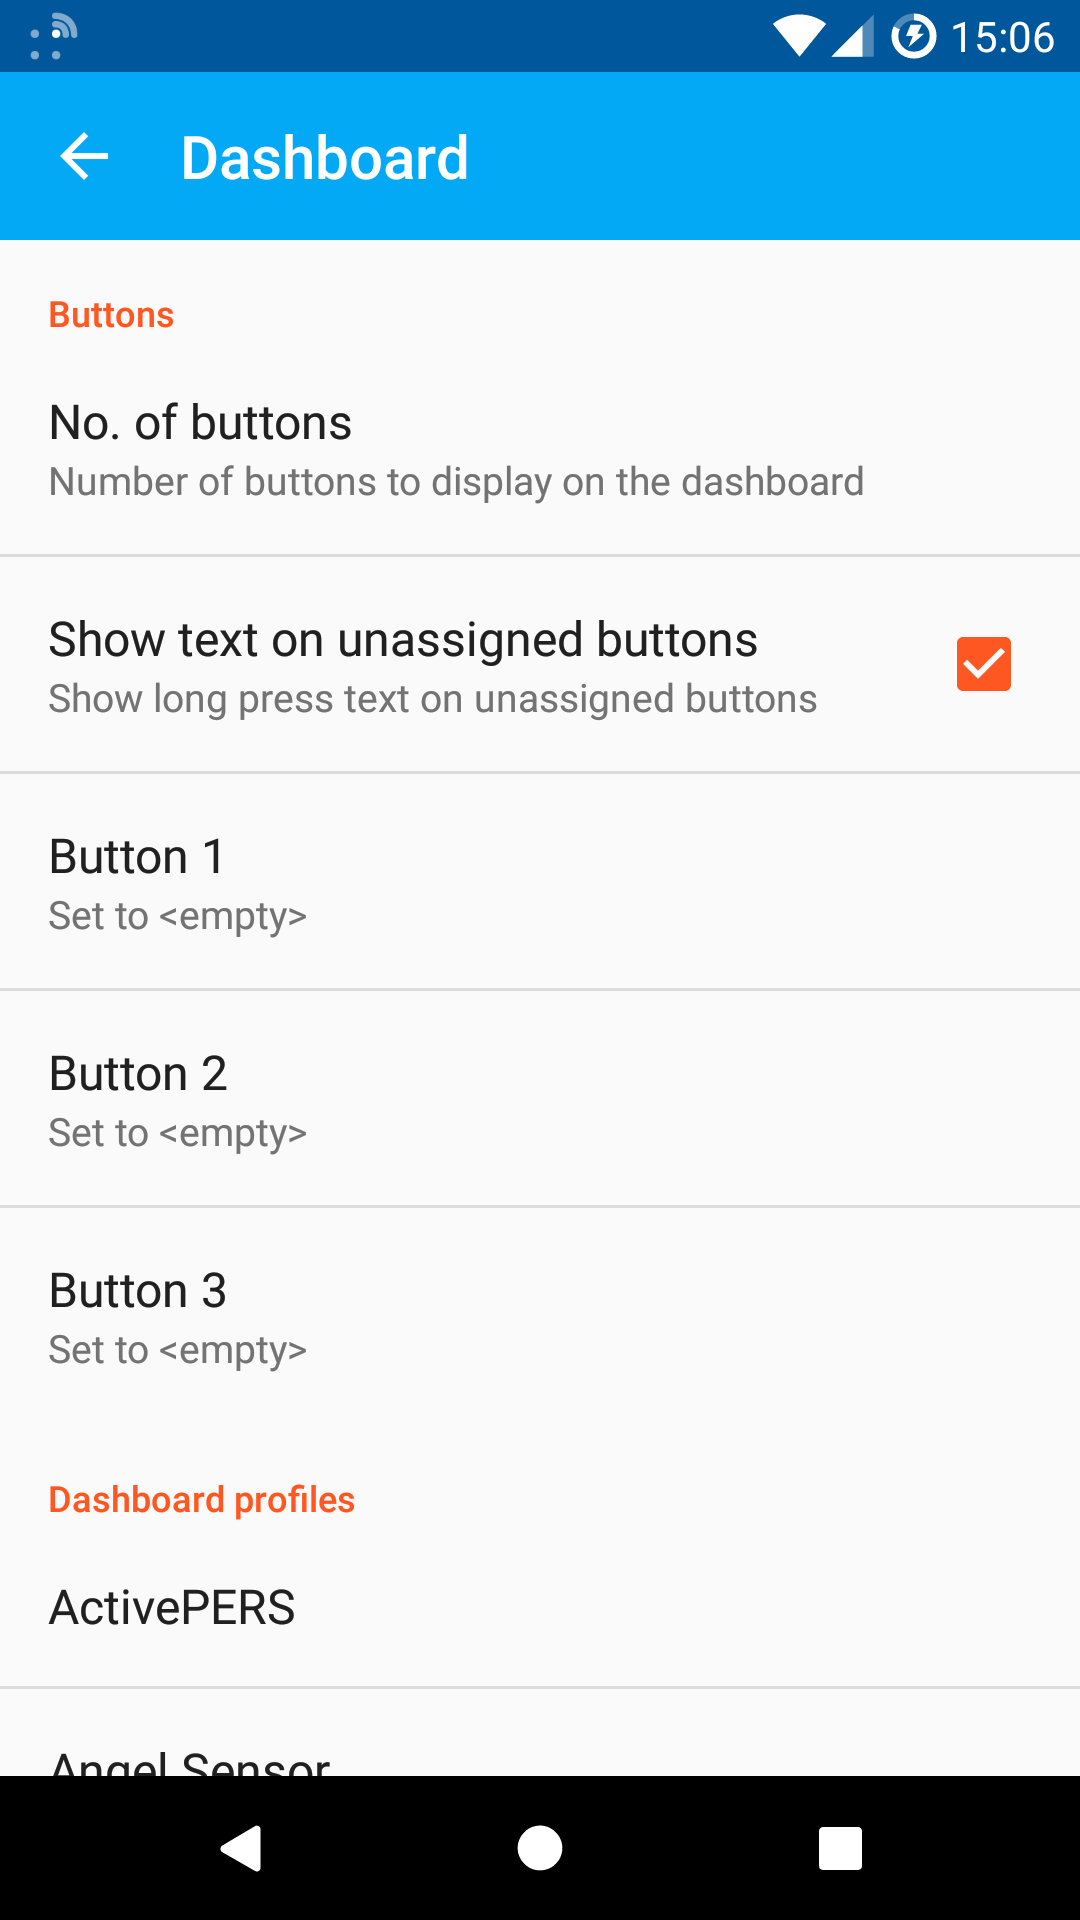
In settings menu, choose dashboard.
-
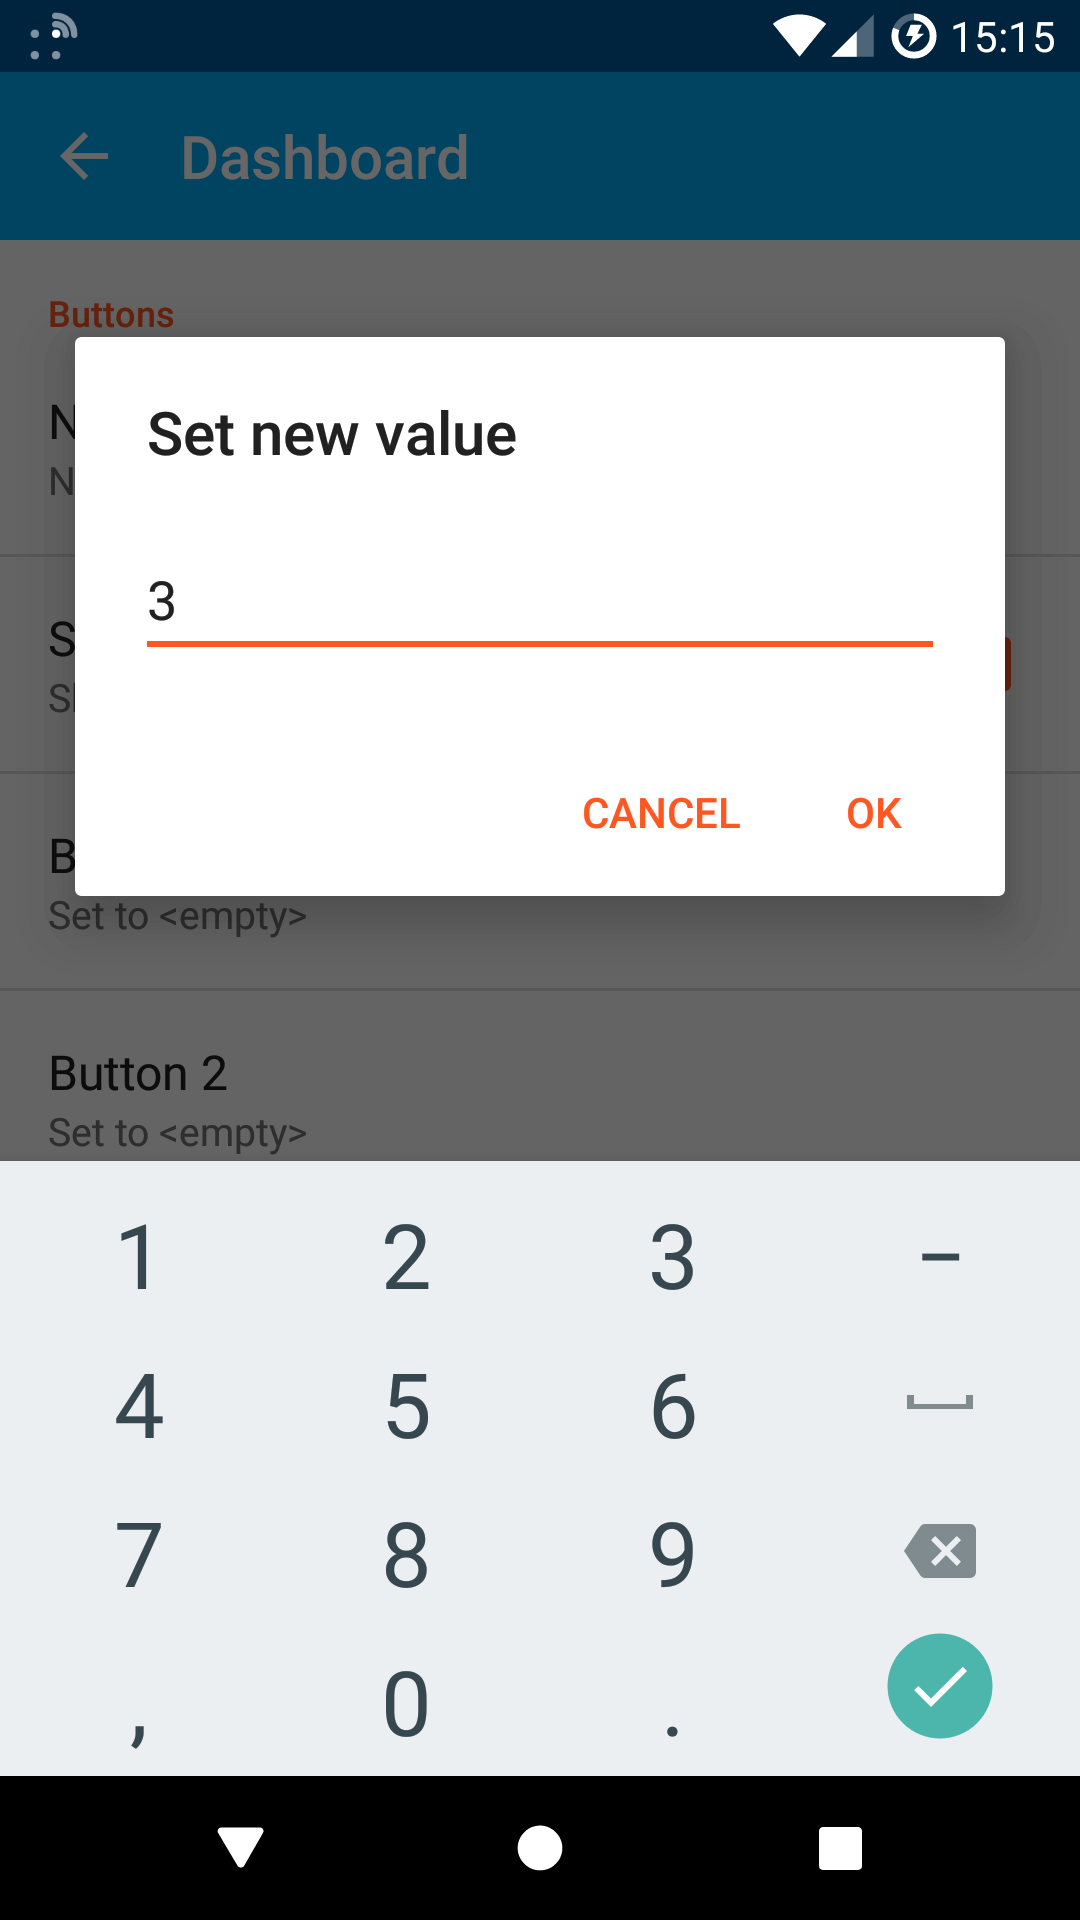
Once in dashboard menu select "No. of buttons". Dialog will pop up asking you to enter desired number of buttons to display on dashboard.
-
Enter desired number and press "OK". Dashboard shoud now contain desired number of buttons.
How do I set zoom level of items in the dashboard?
-
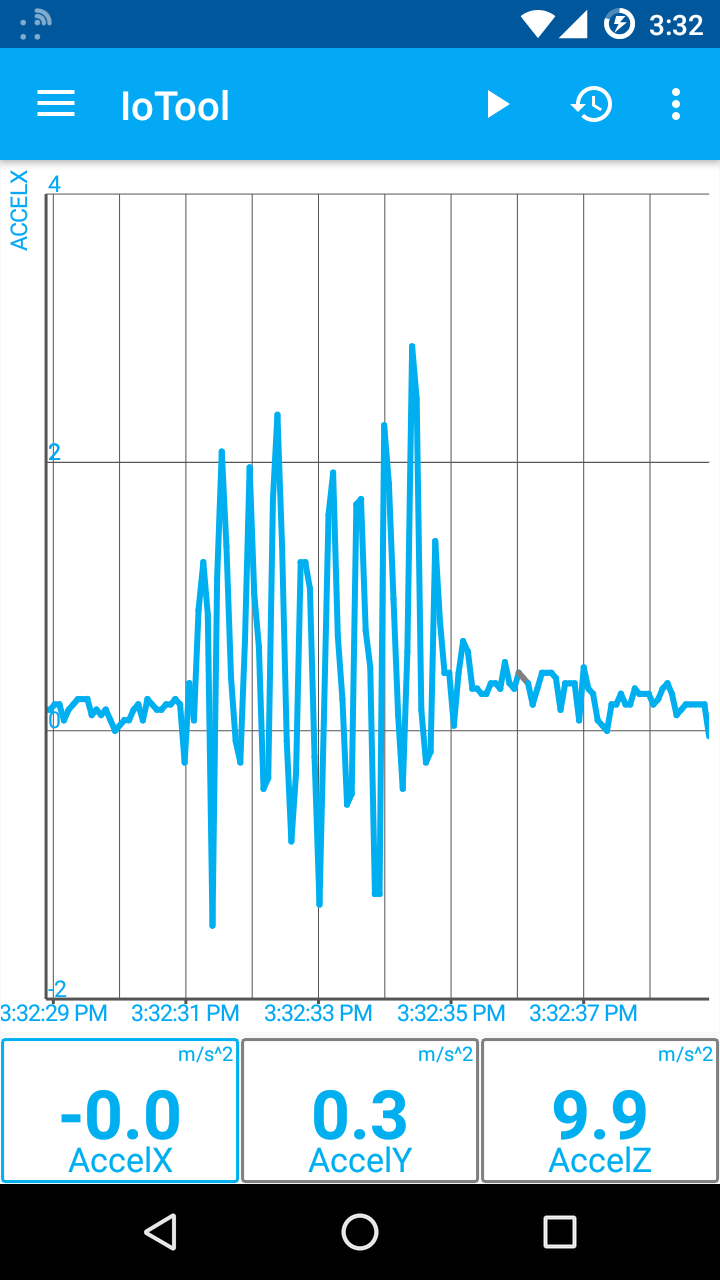
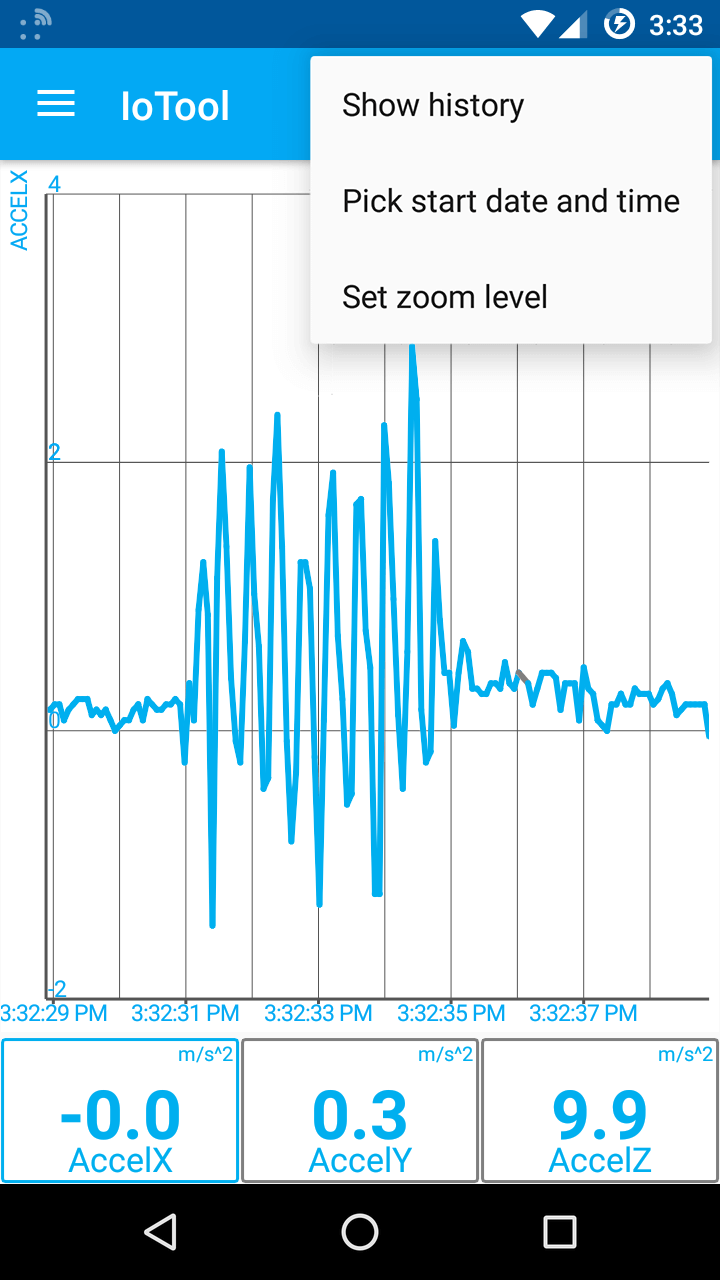
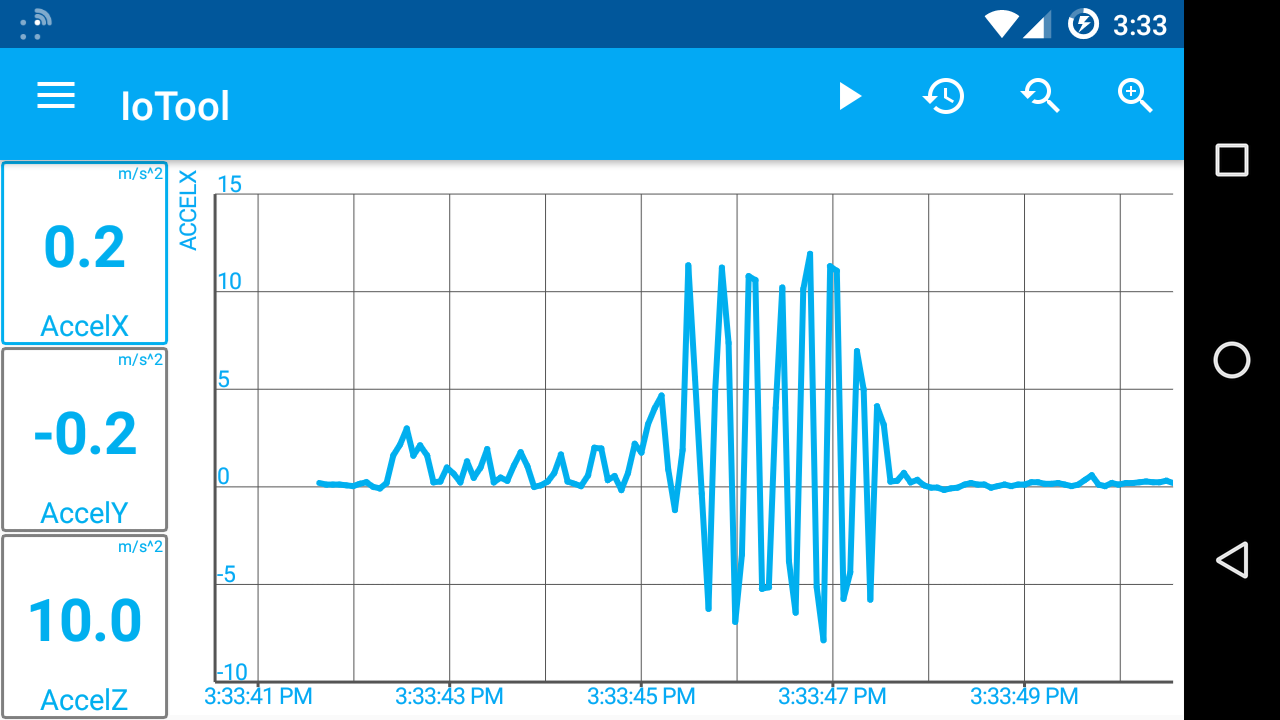
To set zoom level of the items in the dashboard open left drawer menu by pressing more button to reveal additional dashboard options. If more button is not visible, press magnifying glass icon instead.
-
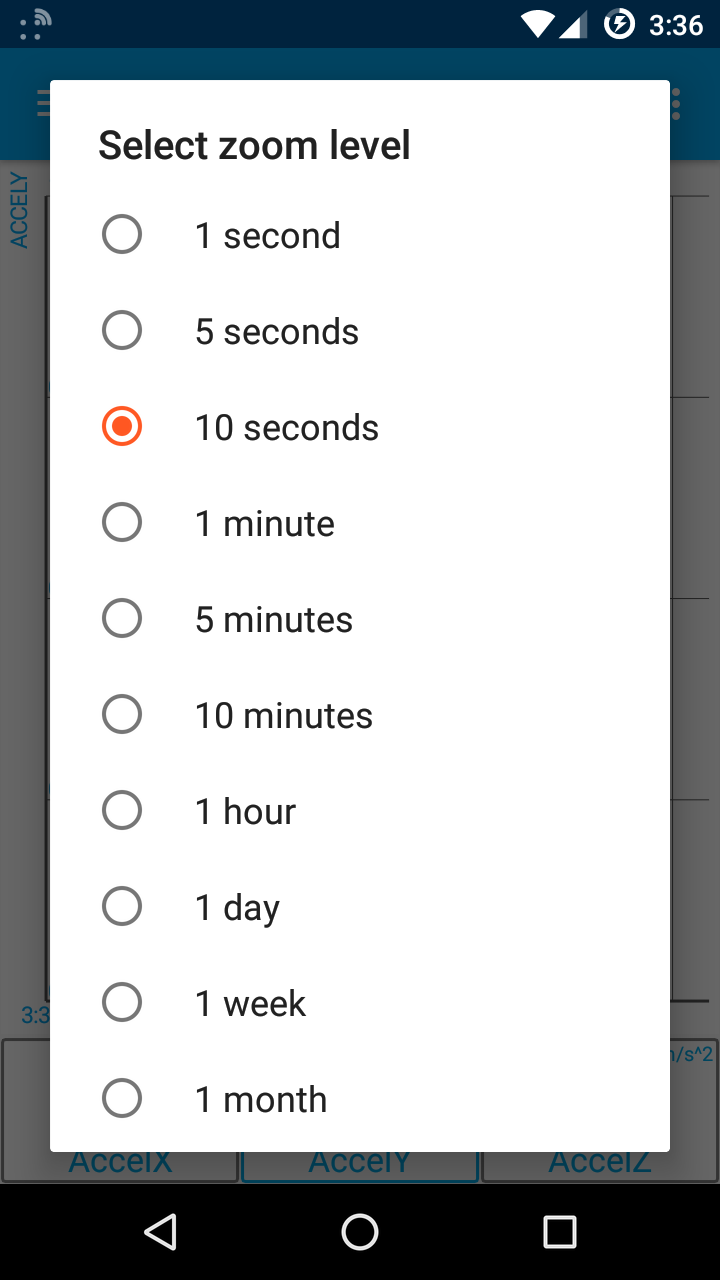
A menu will pop up, asking to what zoom level should dashboard be set. Select the desired zoom level. Dashboard should now use set zoom level.
How can I set starting date and time of the data displayed on the dashboard?
-
To set starting date and time of the data displayed on the dashboard open left side drawer menu and select "Pick start date and time". If left side drawer menu is not avaliable click on the reverse magnifying glass icon instead.


-
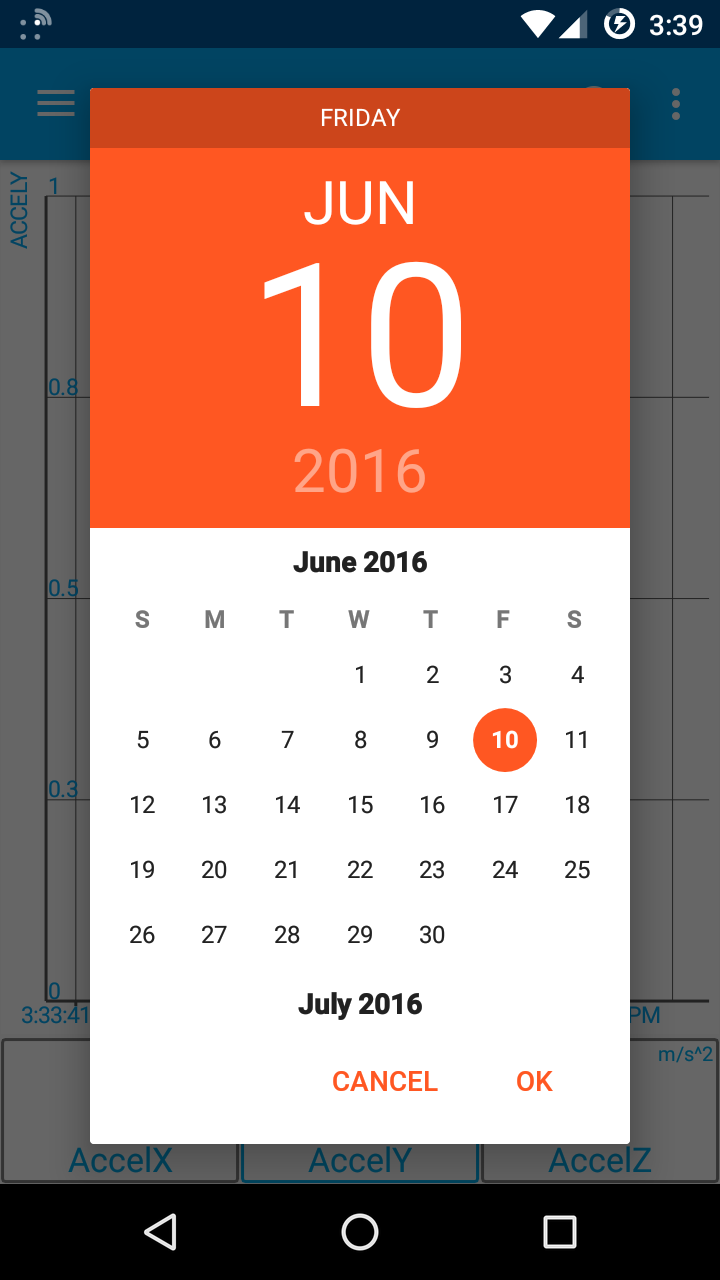
Calendar will pop up, allowing you to set starting date and time. Once you have selected starting date press "OK" button to confirm entry.
-
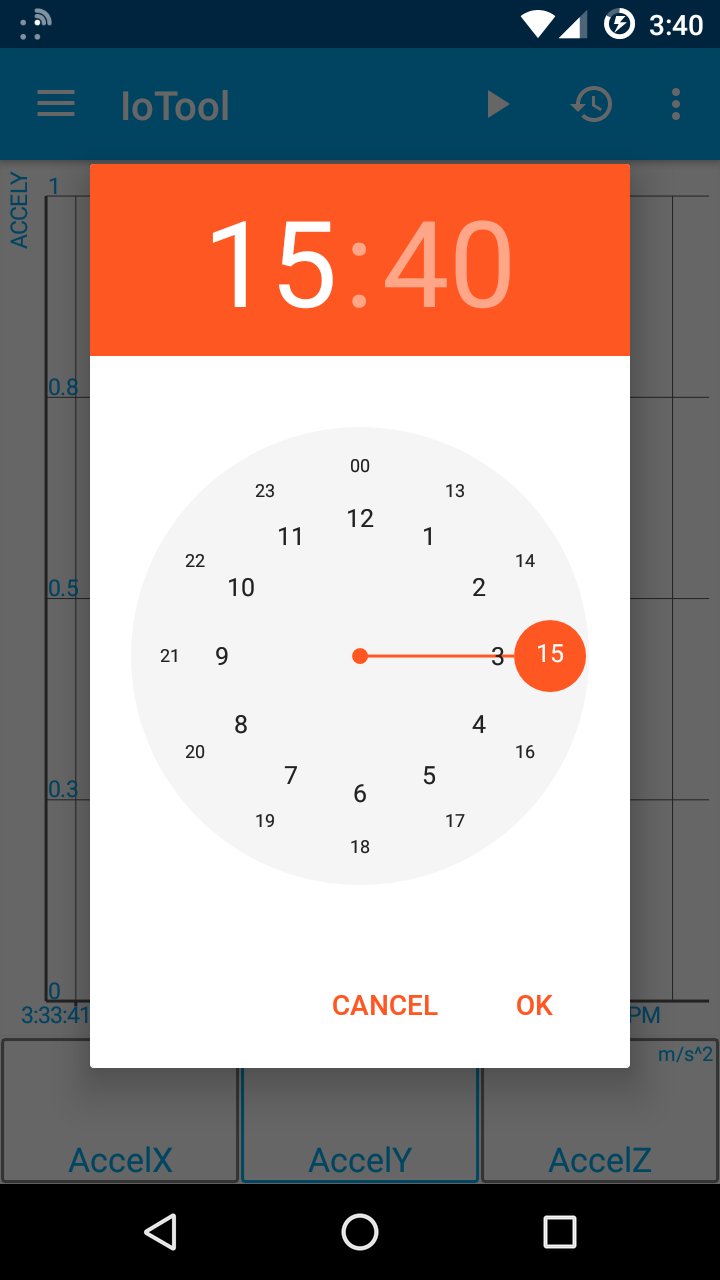
After date has been set, time selection menu will pop up. Select desired starting time and press "OK". Dashboard should now display gathered data starting from set date and time.
How do I add sensor to the button?
Sensor can be added to the button in two different ways:
-
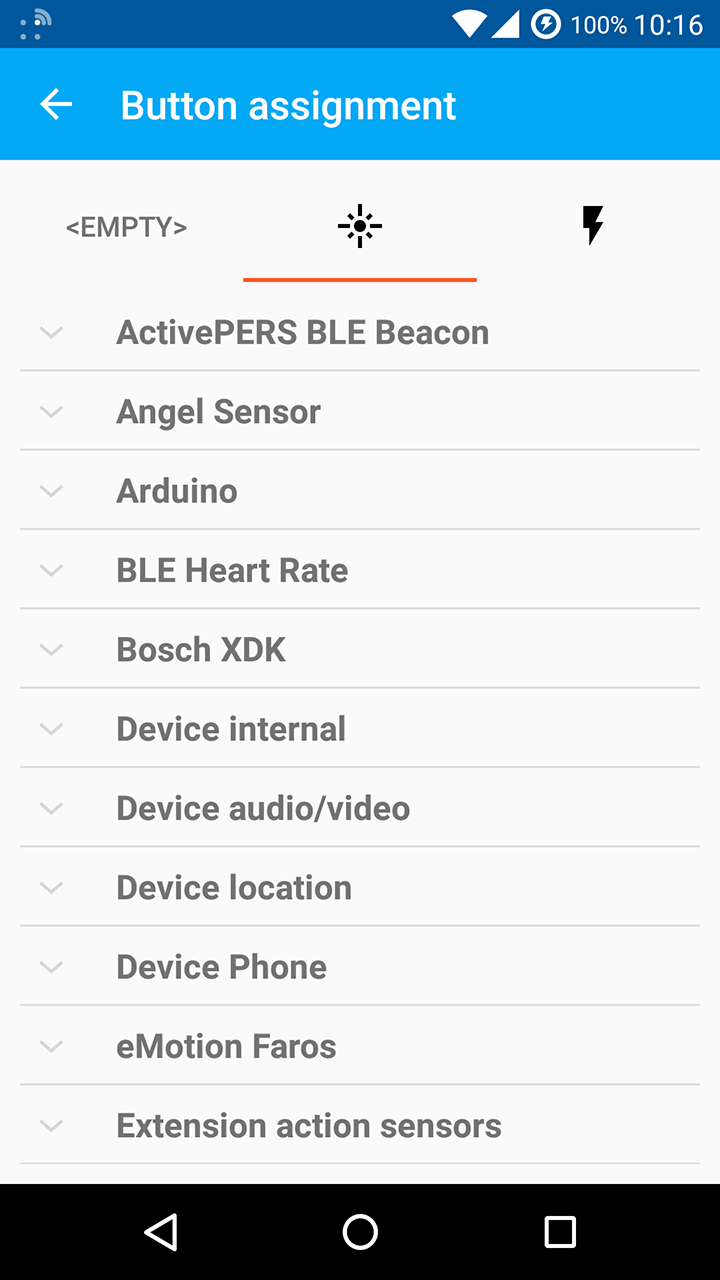
In dashboard touch and hold the button you wish to add sensor to. A tab view with sensor categories should appear.

-
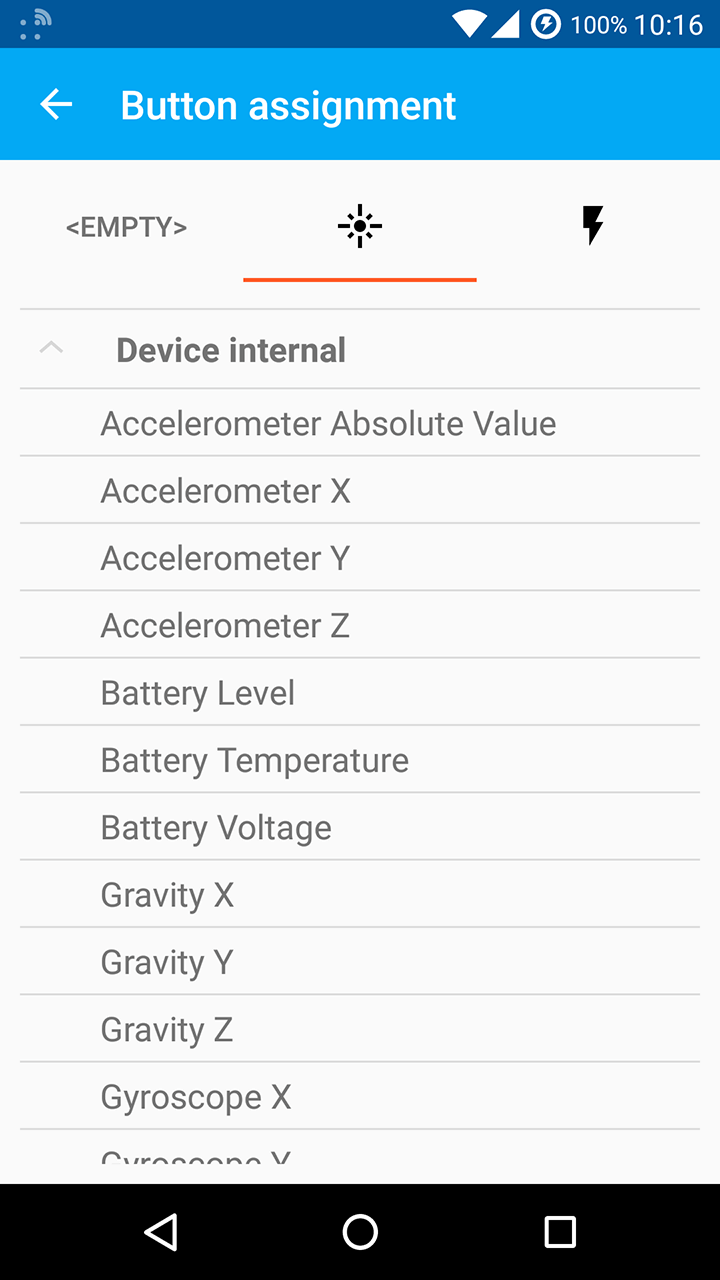
Expand the sensor category to find the sensor you wish to bind to the button. Once you have found the sensor tap on it. Sensor should now be bound to the button.
-
Open left side drawer menu located on the left side of the IoTool logo.

-
In drawer select settings.

-
Once in settings menu choose dashboard. All current buttons will be listed in the dashboard settings.

-
Select button you wish to add sensor to. A tab view with sensor categories will open.

-
Sensors will be listed in categories based on current avaliable sensors. Find the sensor you wish to bind to the button by expanding the category in which it is located. Once you have found the sensor, select it. This will bind sensor to the button. Repeat steps 4. - 5. if you wish to set sensors for other available buttons.

How do I remove sensor from the button?
Sensor can be removed from the button in two different ways:
Option 1:
-
In dashboard touch and hold the button you wish to add sensor to. A tab view should appear.

-
Once in tab view select "<EMPTY>", this will remove sensor from the button.
Option 2:
-
Open left side drawer menu located on the left side of the IoTool logo.

-
In drawer select settings.

-
Once in settings menu choose dashboard. All current buttons will be listed in the dashboard settings.

Select the button you wish to remove sensor from. A tab view will open. tab view Select "<EMPTY>", this will remove sensor from the button. Repeat steps 4. - 5. if you wish to remove sensors from more buttons.